Login
You are currently not logged in! Enter your authentication credentials below to log in. You need to have cookies enabled to log in.
Image Stitching
The Image Stitching function is similar to a function of panorama stitching in photo processing. If you have a set of images, made with an overlap of at least 10 %, the function Image stitching enables to combine them into one big image of the surface.
Before start make sure you have already processed all the images with standard filters, for example with Adjusting by lines and with surface fitting. Then select one of the images of the set as active and call the function Image Stitching from Mathematics menu → Correlation or use the button
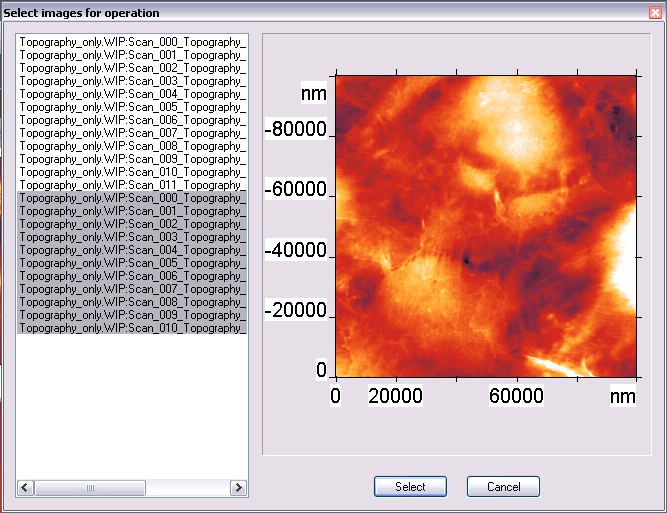
A dialog box will appear. In this window you can see the list of opened files on the left and the quick view window on the right. Speсify the images which you want to stitch and press Select button.
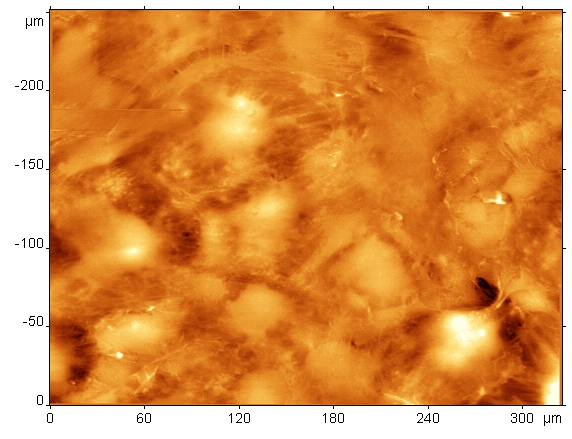
Later on the stitching will begin. The process may take a while, about several minutes in case of large number of files. The results of the work are: the stitched image, a table of stithcing parameters (X and Y – offsets of each image on the final canvas relative to its lower left corner, and correlation coefficients in the pair).
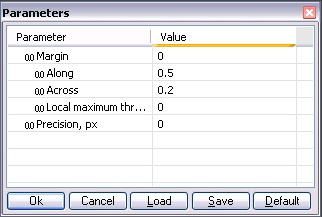
Along with the results mentioned below the parameter dialog box will appear. In most cases, the parameters which are set in this dialog box by default, allow to obtain adequate quality of stitching. If you don't like the resulting image, try to reconfigure it.
It's time to figure out how the function works. The main idea of this algorithm is to find a correlation between areas located on the edges of the frames. On the first step of the algorithm the program looks for local maximums of correlation. According to the strongest maximums the images are stitching. In the course of the algorithm it uses the following parameters (see the scheme):
- Margin – occasionally edges of AFM images are distorted with hysteresis or with temperature drift, in this case consideration of these data in correlation calculation is undesirable. This parameter allows to indent on the edge of the image. The parameter value is specified as a fraction of the length of the image, the default value for this parameter is zero.
- Along – the length of rectangular regions used to calculate correlations. When merging “right” and “left” parts of the images, it is the length of the rectangle along theY axis, when merging “top” and “bottom” – along X axis. The value is specified as a fraction of the length of the image, the default value for this parameter is 0.5.
- Across – the width of rectangular regions used to calculate correlations. When merging “right” and “left” parts of the images, it is the width of the rectangle along theX axis, when merging “top” and “bottom” – along Y axis. The value is specified as a fraction of the length of the image, the default value for this parameter is 0.2.
- Local maximum threshold level – in some cases, image stitching is more efficient if the calculations take into account not only the local maxima of correlation, but also the points of near-maximum values. This parameter sets the threshold value at which these points are selected. The value is specified as a fraction of the maximum, the default value is zero.
- Precision, nm – the points corresponding to maxima of the correlation of two adjacent images are determined independently in the calculations, and their positions should coincide with a prescribed accuracy. The admissible offset value (the admissible distance between maximums) is determined by parameter Precision, nm. The value is specified in nanometers, the default value is zero.


